What is C#
C# is an object-oriented programming language developed by Microsoft that is used for multiple solutions including Unity. It is used to create the programming logic for games created with Unity and, by learning it, you too can create games.
The Basics
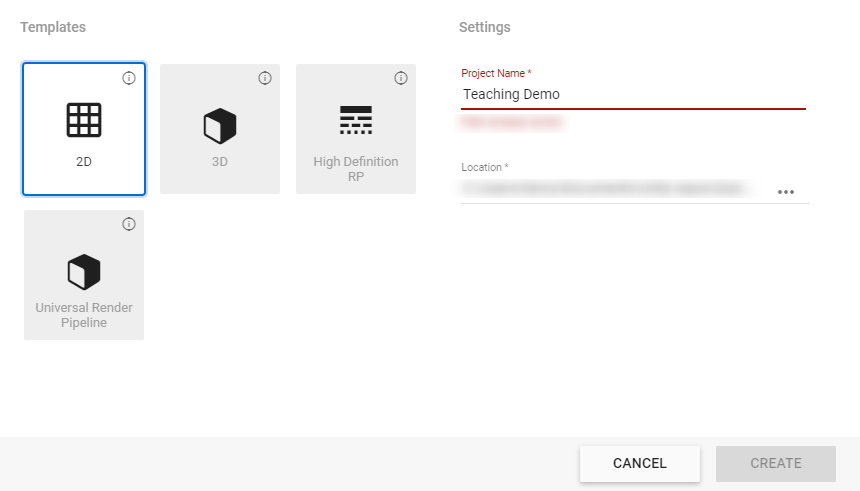
For the purpose of this tutorial, we will create a new project. I have named my ‘Teaching Demo’, but feel free to name your’s anything.
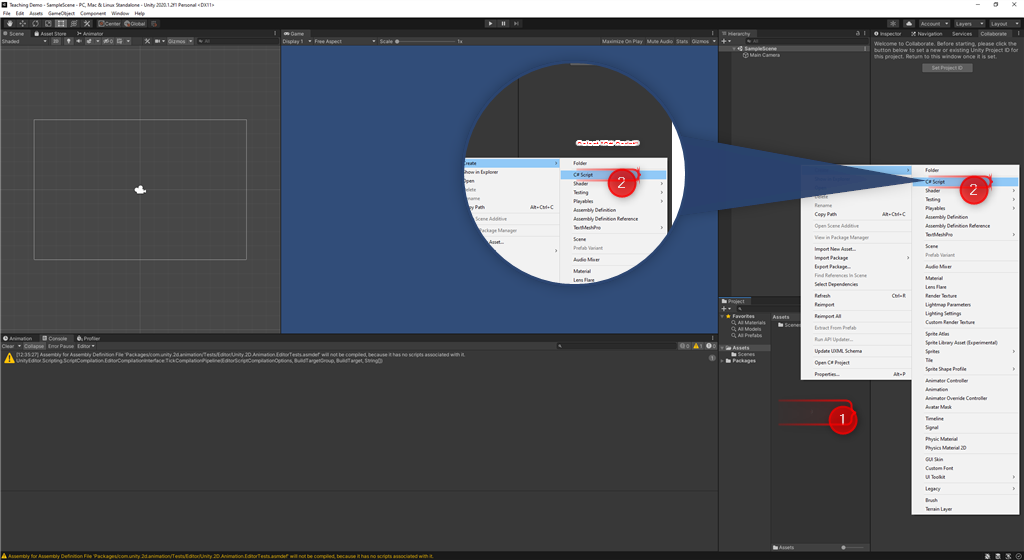
Once the new project loads, you can right-click in the assets section of the project window, go to create, and then left-click on ‘C# Script’. This will create a new C# Script. After left-clicking, you will have the ability to name your script. Type Learning and then press enter. Unity will have officially created and named a new script for you. Now, double click on the newly created script which will launch Visual Studio and open the new script.
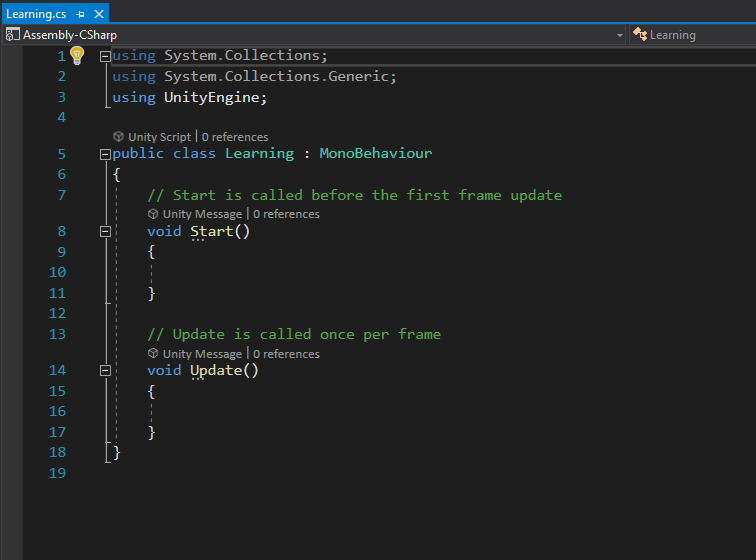
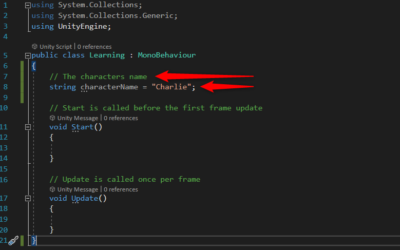
When it opens in Visual Studio, you will notice a few things. Starting from the top, you will see multiple lines with the keyword using. In simple terms, these allow you to use code that other programmers have created within the code you are writing. This is important as the Unity developers have created code that needs to be included within your code to allow it to operate correctly.
The next thing you will notice is the line:
public class Learning : MonoBehaviour
This line is the class declaration. This line actually contains a bit of information. The keyword ‘public‘ is an access modifier, which we will cover in a later tutorial. The section ‘ : MonoBehaviour‘ is an example of inheritance, another topic for a different tutorial. For basic explanation, it allows you to use functions and variables (discussed later) that were created by someone else, similar to the using lines at the top of the script. The main section to focus on currently is the section ‘ class Learning ‘. This section means that we are creating a class that is called Learning, which is what we named when we created the script in Unity. You can think of a class as a template. It can be reused in multiple places. Although the current class we are creating will have no real use, it will show us the basics of coding in Unity.
The next lines show functions:
void Start()
{
}
and
void Update()
{
}
Functions can be thought of as shortcuts to complex actions. For example: if you tell someone to “walk to the kitchen”, there are many different processes happening to complete this action. First, the person completing the action must lift one leg, place it in front of them, shift their weight, etc. All of these processes together create a ‘method‘ called “walk”. They must also account for a parameter that we have given which is “to the kitchen”. This gives them a direction to walk towards. We could replace “kitchen” with any location and the person would “walk” in that direction. Using this basic description, you can see that there is a method(also called function) named Start. This method describes what will happen when this class is first started. The void section describes the parameter that we are giving it, similar to “to the kitchen” in our walk example, except the keyword void means that there is no parameter needed to use this function. It would be similar to telling a person to walk but not give them a direction so they just start walking without thinking about a direction. Like the “Start” method, the “Update” method doesn’t take a parameter but instead of starting when the class is first created, it is called once per frame. Depending on the frame per second that your game will play at, the update method will be called that many times. This means that if you are trying for 60 frames per second (fps) then this method will be called 60 times per second. This is useful for things like moving a character that will need to be updated multiple times a second to create the illusion of movement.
Conclusion
Now that we have a basis for what is happening in our script, we can start to make custom things happen. In our next tutorial, we will talk about variables and how we can create custom properties in our classes. Check out our C# tutorials for complete lessons on how to code in unity.



0 Comments
Trackbacks/Pingbacks